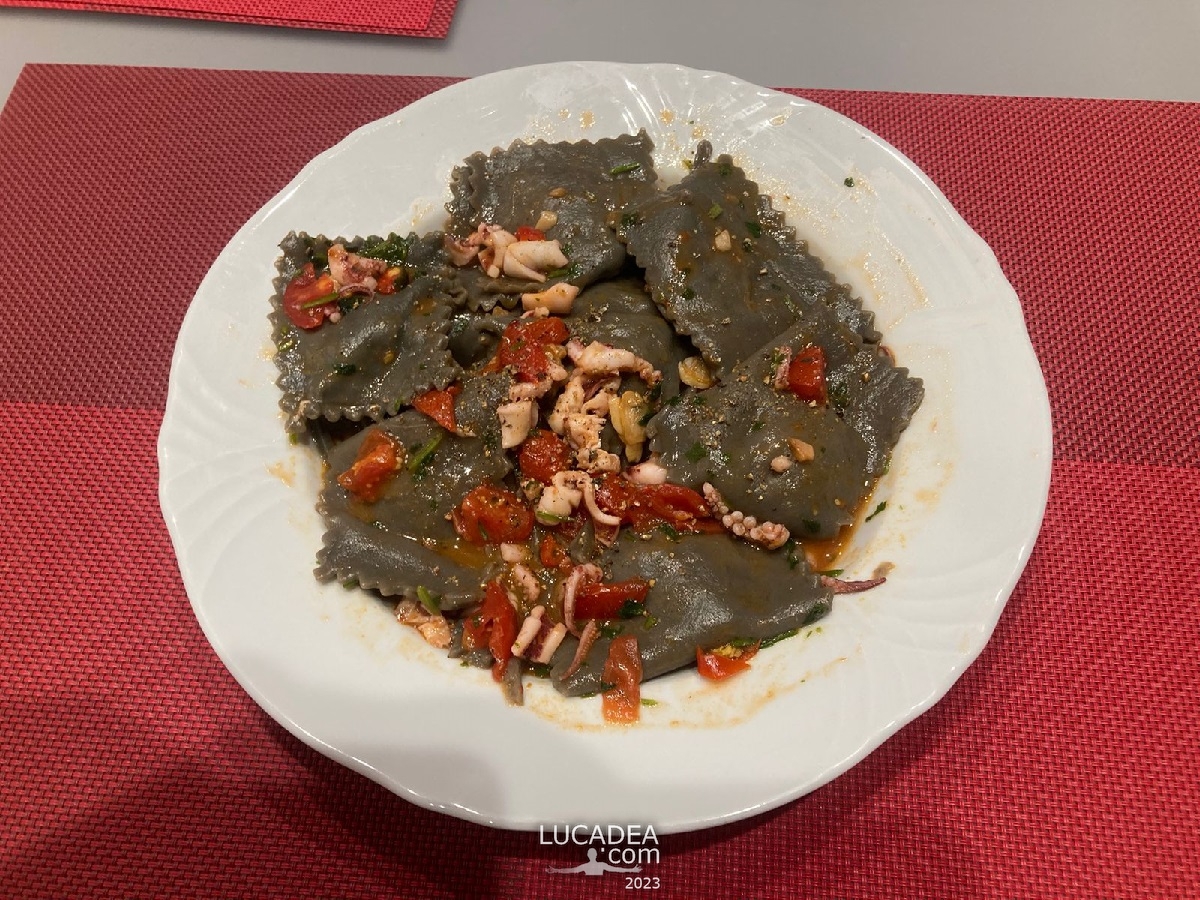
Cuttlefish ink ravioli stuffed with sea bream, the recipe
This is the first time I've made ravioli, one of my favorite Italian foods.
I like eating fish more than meat and so I decided to make fish ravioli (sea bream in this case).
Click vào đây để đọc bằng tiếng việt!
If you are curious about this recipe of mine or Vietnamese food in general, write me a message. comment or go to the bottom of the site to read what other visitors have written.
Ingredients
Ingredient for ravioli:
Flour: 500 gr;
5 eggs;
Sea bream fillet (sea bream fish): 600 gr;
Ricotta: 250 gr;
Olive oil, garlic, onion, salt, seasonings, black pepper, cuttlefish ink liquid.
Ingredient for the sauce:
Calamari (all seafood cut into small pieces);
Clams;
Monkfish;
Tomato;
Parsley.
Preparation
To prepare sea bream ravioli, the first thing to do is prepare the fresh pasta.
Put the flour in a bowl, slowly add the eggs and 1 teaspoon of squid ink liquid, then mix everything together.
Transfer the mixture to the work surface and knead with your hands. When the mixture is well mixed, form a ball, roll the dough in cling film and leave it to rest in the fridge for about half an hour.
Now I will prepare the filling. First I add the oil with a little onion and garlic and fry until fragrant, I put it aside, then I use that pan and add the fish, add a little salt and pepper, about 7-10 minutes and the fish is cooked.
Then remove the fish and remove the skin, check carefully if they still have bones and remove everything. Then crumble the fillet well and add it to the ricotta, check the flavor again, if necessary add a little salt or pepper. Then the dough is ready to put inside the ravioli.
At this point, remove the fresh pasta from the fridge, divide it into portions and then, with the help of the pasta rolling machine, roll it out and cut it into strips. On half of the strip, arrange portions of the previously prepared or stuffed dough with a teaspoon, well spaced apart. Then, using another half of the strip, cover the stuffed strip and with the help of the wheel cut a piece of ravioli. When sealing the ravioli, it is very important to try to get all the air out to prevent them from opening during cooking. The ravioli are ready.
With the sauce I do it simply: first I add the oil with a little garlic and fry it until it becomes fragrant, then I add the chopped tomatoes, 2 tablespoons of pasta cooking water. Then I fry the fish, calamari and clams together, I add a little fish sauce, then I add the boiled pasta, last step I add some chopped parsley leaves and mix everything then serve on the plate and put a little black pepper on top.
It was the first time I made this dish, I'm really happy, because the taste is so good for me, I hope you can do the same and enjoy one of the tastiest dishes in Italy.
Photos of the preparation:
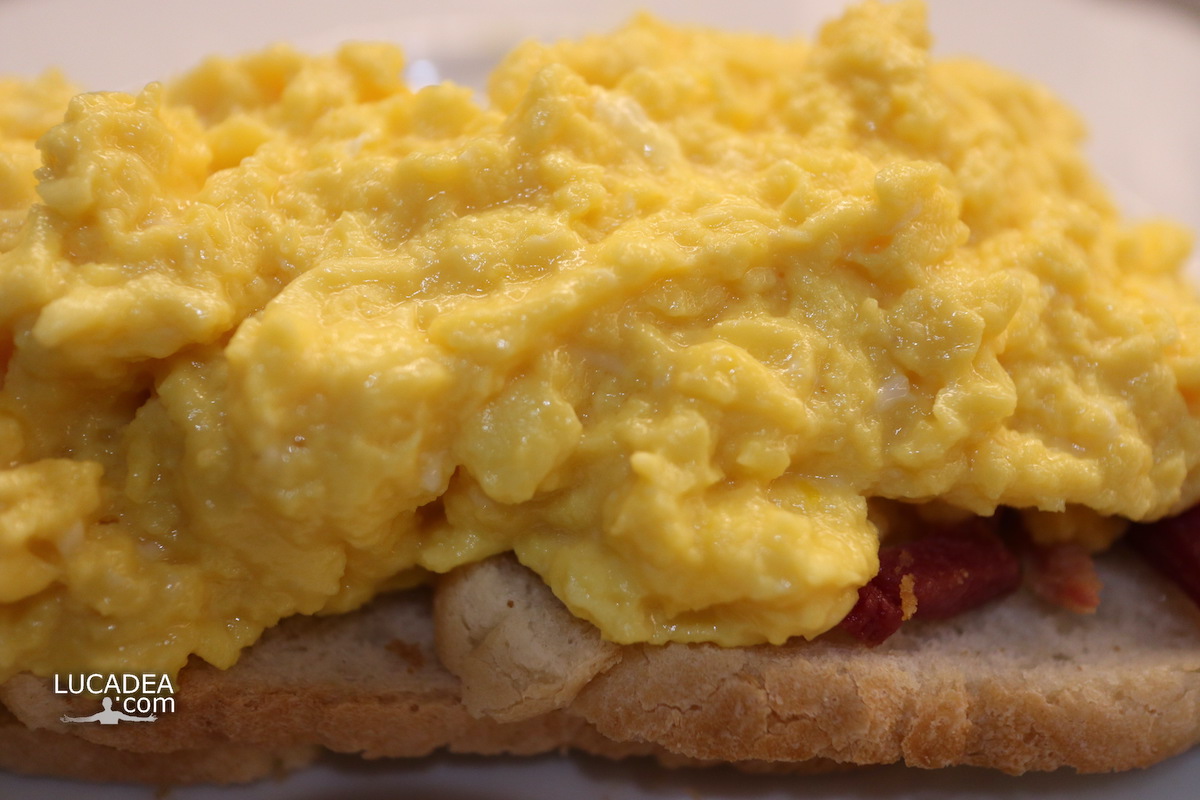
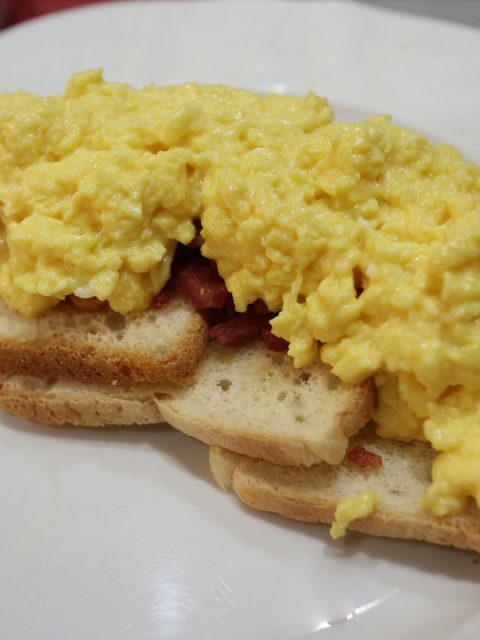
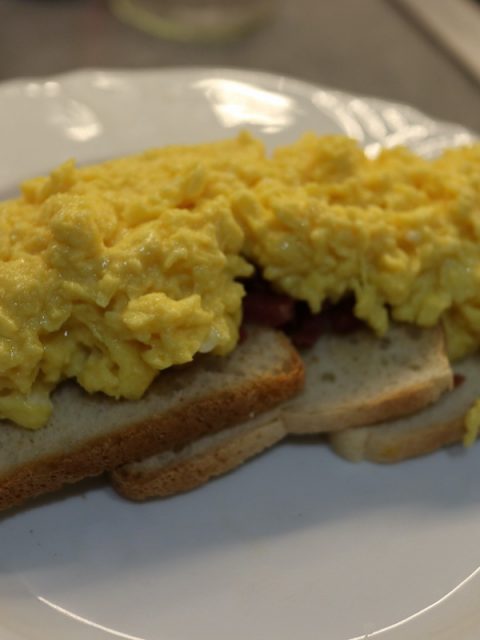
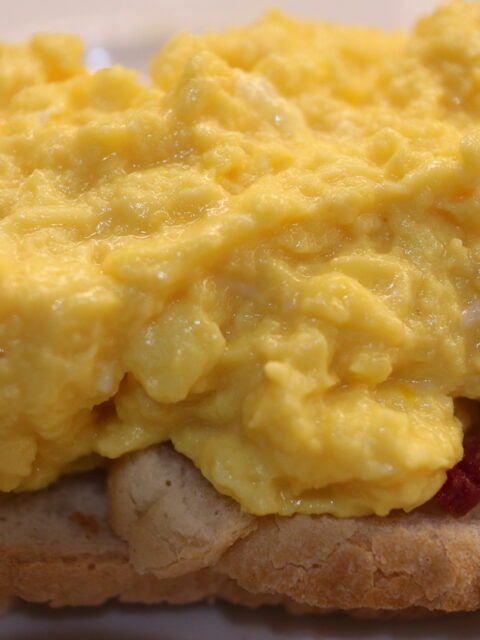
Photos of the finished dish:
Đây là lần đầu tiên tôi làm ravioli, một trong những món ăn Ý yêu thích của tôi. Tôi thích ăn hải sản hơn thịt. Vì vậy tôi quyết định làm món ravioli al pesce (orata)
Nguyên liệu làm ravioli:
Bột mì: 500g
Trứng: 5 quả
Phi lê Orata (cá tráp): 600g
Ricotta: 250g
Dầu olive, tỏi, hành tím củ nhỏ, muối, hạt nêm, tiêu đen, nước mực đen.
Nguyên liệu làm nước sốt:
Mực, nghêu, một ít cá chày, cà chua, rau mùi tây, sốt cà chua. (Tất cả hải sản cắt miếng nhỏ)
Cách làm ravioli:
Để chuẩn bị orata ravioli, điều đầu tiên cần làm là chuẩn bị mì ống tươi.
Cho bột mì vào tô, từ từ thêm trứng và 1 thìa cà phê nước mực đen vào rồi trộn đều.
Chuyển hỗn hợp lên bề mặt gỗ và nhào bằng tay. Khi hỗn hợp đã trộn đều, tạo thành khối tròn, sau đó bọc bột trong màng bọc thực phẩm rồi cho vào tủ lạnh khoảng nửa giờ.
Bây giờ tôi sẽ chuẩn bị nhân. Đầu tiên, cho dầu với một ít hành tỏi vào phi cho thơm, rồi đặt sang một bên hỗn hợp này, sau đó dùng chảo đó cho cá vào, thêm chút muối, hạt nêm và tiêu, rim lại khoảng 7-10 phút là cá được nấu chín.
Sau đó, vớt cá ra, bỏ da, kiểm tra kỹ xem còn xương hay không thì bỏ hết. Sau đó nghiền nát cá rồi trộn cùng với ricotta, kiểm tra lại gia vị nếu cần cho thêm chút muối hoặc tiêu. Sau đó hỗn hợp đã sẵn sàng để cho vào nhân bên trong ravioli.
Lúc này, lấy mì tươi ra khỏi tủ lạnh, chia thành từng phần rồi dùng máy cán mì, cuộn mì ra và cắt thành từng dải. Trên một nửa dải, đặt các phần hỗn hợp nhân orata đã chuẩn bị trước đó bằng thìa cà phê, cách đều nhau giữa chúng. Sau đó, dùng nửa dải còn lại phủ lên dải nhồi và dùng dao cắt có bánh xe để cắt thành một miếng bánh ravioli nhỏ. Khi gói bánh ravioli, điều quan trọng là phải cố gắng đẩy hết không khí ra ngoài để chúng không bị bung ra trong khi nấu. Bánh ravioli đã sẵn sàng.
Với nước sốt, tôi làm theo cách đơn giản: đầu tiên tôi cho dầu với một ít tỏi vào xào cho đến khi có mùi thơm, sau đó tôi thêm cà chua xắt nhỏ, một ít sốt cà chua, 2 thìa nước luộc mì ống. Sau đó xào cá, mực, nghêu với nhau, thêm chút nước mắm hoặc hạt nêm rồi cho mì đã luộc vào, bước cuối cùng thêm chút lá mùi tây thái nhỏ vào trộn đều rồi bày ra đĩa, rắc chút tiêu đen lên trên.
Lần đầu tiên tôi làm món ravioli này, tôi thực sự rất vui và hương vị cũng rất ngon đối với tôi, tôi hy vọng bạn cũng có thể làm như vậy và thưởng thức một trong những món ăn ngon và nổi tiếng nhất ở Ý.